Hey, nail art enthusiasts! Ready to take your self-expression to the next level and show off your creativity through your fingertips? We’ve got your back with easy-to-follow tutorials for trendy and vibrant nail designs that are perfect for beginners. Let’s dive into the world of nail art and have some fun!
The Basics: Nail Prep
Before you start creating your nail art masterpiece, it’s crucial to prepare your nails. Begin with clean, trimmed nails. Push back your cuticles gently, and make sure your nails are free of any old polish. If your nails are prone to chipping, use a clear base coat to help your nail art last longer.
Pro Tip: Apply a base coat to protect your nails from staining and to create a smooth canvas for your designs.
Essential Tools for Nail Art
Nail Polish: Gather a variety of nail polish colors. You can start with your favorite shades and expand your collection over time.
Nail Art Brushes: Invest in a set of nail art brushes with different tip shapes and sizes for detailed designs.
Dotting Tools: Dotting tools are fantastic for creating perfect circles and adding small details.
Nail Striping Tape: Striping tape is excellent for creating clean lines and geometric patterns.
Nail Rhinestones and Studs: These add a touch of glamour and dimension to your nail art.
Pro Tip: You can find affordable nail art kits online that include all the tools you need to get started.
Easy Nail Art Tutorials for Beginners
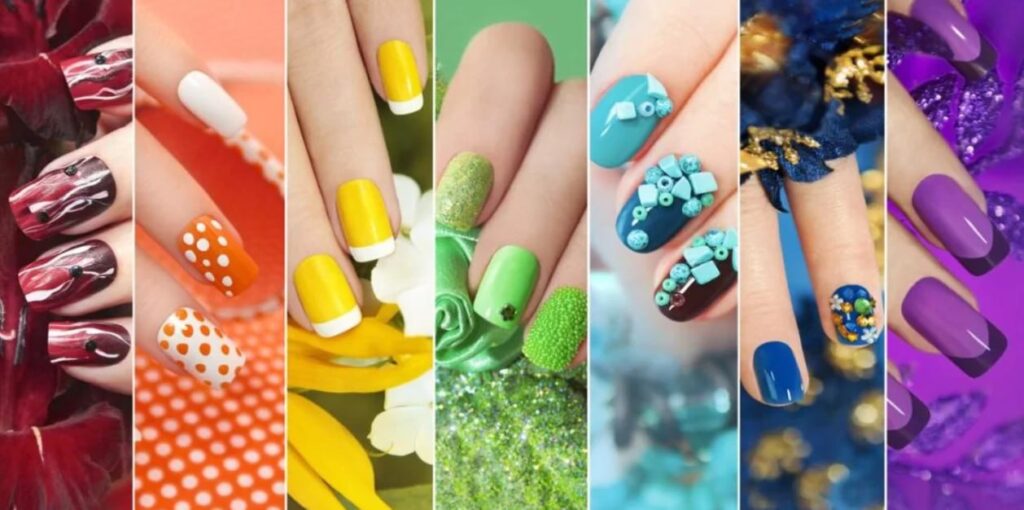
Polka Dot Nails:
Apply a base color and let it dry.
Use a dotting tool to add dots in a contrasting color.
French Tips with a Twist:
Create a classic French tip.
Add a line of dots or small stars along the tip line.
Striped Nails:
Apply a base color.
Use striping tape to create straight lines. Paint over with a contrasting color.
Gradient Nails:
Apply a light base color.
Sponge on a darker shade from the tips toward the base. Blend to create a gradient effect.
Floral Nails:
Apply a light base color.
Use a nail art brush to paint flowers with contrasting colors.
Geometric Nails:
Apply a base color.
Use striping tape to create geometric shapes and paint them with various colors.
Ombre Nails:
Apply a base color.
Use a makeup sponge to dab on a darker color from the tips toward the base.
Pro Tip: Don’t rush the process. Allow each layer to dry before moving on to the next step to prevent smudging.
Finishing Touch: Top Coat
Once you’ve created your nail art, apply a clear top coat to seal in your design, add shine, and extend the life of your art.
Pro Tip: Apply the top coat slightly over the tips of your nails to help prevent chipping.
Experiment and Have Fun
Nail art is all about experimenting and having fun. Don’t be afraid to make mistakes, and remember that practice makes perfect. Your nail art skills will improve with time, and you’ll develop your unique style along the way.
Pro Tip: Follow nail art accounts on social media for inspiration and to discover new techniques.
Show Off Your Nail Art
Now that you’ve got the basics, it’s time to show off your fantastic nail art designs. Your nails are your canvas, so express yourself and let your creativity shine. Whether you’re into bold patterns or delicate flowers, nail art is a fabulous way to make a statement and have fun with fashion. Enjoy your nail art journey! 💅🎨✨